Industry Insight
Screed Drying Times Explained: What Affects Them and How to Check
Screed drying time depends on thickness, mix water, site conditions and the admixture used. Learn what affects it and how to check a screed is ready for floor coverings.
5 min read UKCP Technical Team
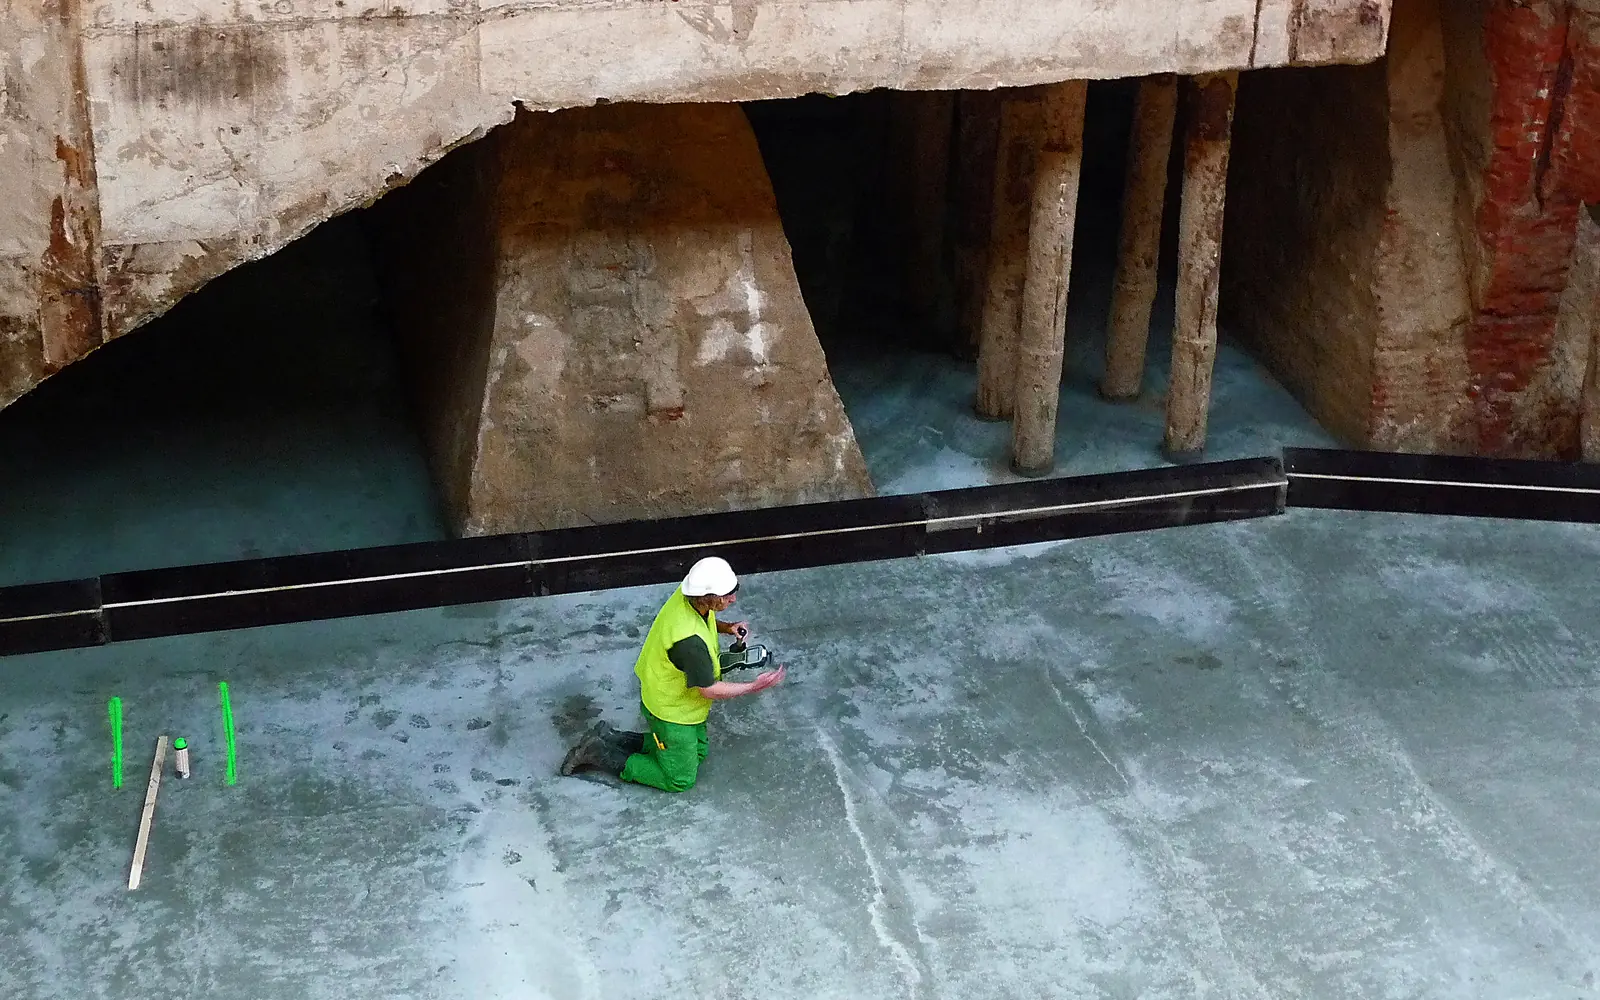
Screed drying time is the time a screed needs to lose enough moisture to receive a floor covering safely. For a traditional sand and cement screed that can mean weeks or months depending on thickness and conditions, while rapid drying admixtures can shorten it considerably. Whatever the product, the only reliable way to know a screed is ready is to test it.
Key takeaways
- Drying time depends mainly on thickness, mix water, temperature, humidity, air movement and the base beneath the screed.
- Curing and drying are different stages: cure first, then dry.
- Rules of thumb help with planning, but moisture testing decides when floor coverings can go down.
- BS 8203 is the standard we reference for checking screed moisture before laying resilient floor coverings.
- Rapid drying admixtures such as PSA and LSA Max can shorten the programme.
Why does screed drying time matter?
Floor coverings and their adhesives are sensitive to moisture. Laying them on a screed that is still too wet can lead to adhesive failure, lifting and blistering of resilient floor coverings, swelling of timber and unpleasant odours. Waiting for a screed to dry costs time, but a failed floor costs far more.
What is the difference between curing and drying?
Curing is the first stage. For the first few days after laying, the screed needs to keep enough moisture for the cement to hydrate and gain strength, so it is protected from rapid moisture loss. BS 8204-1 gives guidance on curing sand and cement screeds, commonly by covering them with polythene sheeting.
Drying comes next. Once the screed has cured, the surplus water that was not used by the cement has to evaporate before floor coverings can be laid.
Forcing a screed to dry while it should be curing can leave it with a weak surface and cause cracking and curling. Rapid drying admixtures may come with their own curing guidance, so check with the manufacturer's technical team.
What affects screed drying time?
| Factor | How it affects drying |
|---|---|
| Thickness | Thicker screeds take disproportionately longer, because moisture has further to travel |
| Mix water | Every litre of water beyond what the cement needs has to evaporate |
| Temperature | Low temperatures slow drying |
| Relative humidity | Humid air slows evaporation, especially in closed buildings |
| Air movement | Ventilation carries moist air away from the surface |
| Base and membranes | A screed on a membrane can only dry upwards; a wet concrete base can feed moisture into a bonded screed |
| Other site work | Wet trades such as plastering raise humidity, and a building that is not weathertight dries slowly |
| Admixtures | Water reducing and rapid drying admixtures reduce surplus water and speed up drying |
How long does a screed take to dry?
Traditional sand and cement screed
A widely quoted rule of thumb for a traditional sand and cement screed is about one day per millimetre of thickness for the first 40mm, with thicker screeds taking disproportionately longer. The rule assumes good drying conditions and is a planning aid only. It is no substitute for testing.
Screeds made with PSA
We publish the following drying guidance for screeds made with PSA. Typically, floor coverings can be installed between one and three weeks after casting, depending on the screed thickness and drying conditions.
| Screed thickness | Average drying time before laying floor coverings |
|---|---|
| 50 to 75mm | Allow about seven days per 25mm of thickness |
| Less than 50mm | May be reduced to about 3 days, subject to the substrate being free from moisture |
Low temperatures or excessive moisture in the underlying concrete will delay drying. Protect the screed from premature drying caused by wind, strong sun and forced drying conditions. Moisture should still be checked in line with BS 8203 before the floor covering is laid.
Screeds made with LSA Max
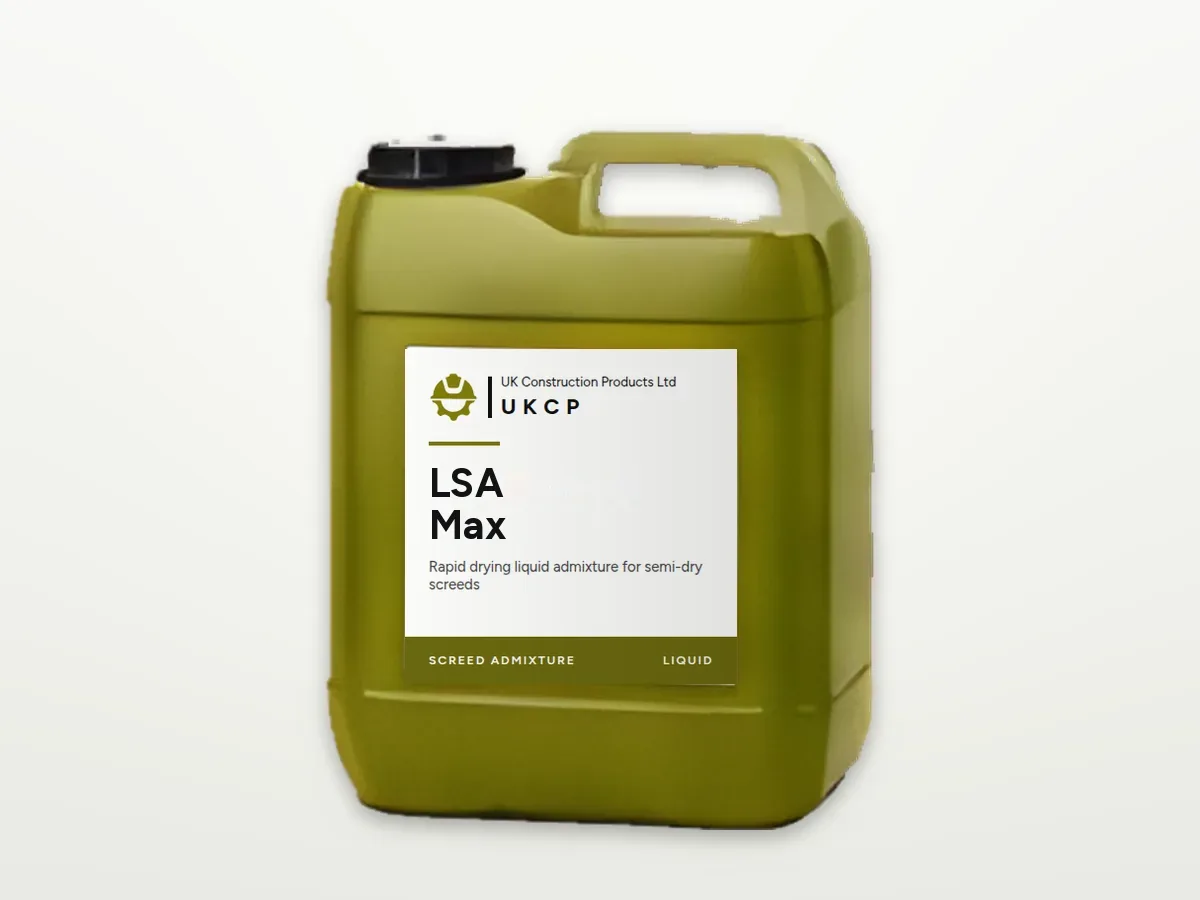
LSA Max is designed for very rapid drying times and allows foot traffic after 24 hours. For drying guidance for your screed, ask our technical support team.
Remember that foot traffic time is not the same as drying time. A screed that can be walked on after 24 hours may still need longer before it is ready for floor coverings.
How do you check if a screed is dry?
The hygrometer method in BS 8203
We recommend checking screed moisture in line with BS 8203, the code of practice for installing resilient floor coverings, before laying the floor covering. The hygrometer method measures the relative humidity of the air trapped in equilibrium with the screed:
- An insulated hood or box containing a hygrometer is sealed to the screed surface.
- It is left in place until the reading stabilises, following the procedure in the standard.
- The relative humidity reading is recorded and compared with the required value.
For resilient floor coverings, BS 8203 recommends a reading of 75% relative humidity or lower. Test in several locations, including the areas likely to be wettest, such as thicker sections, cold or shaded areas and rooms with little ventilation.
Other floor finishes
Other floor finishes have their own guidance, including BS 8201 for timber flooring, BS 5325 for textile floor coverings and BS 5385-3 for ceramic floor tiling. Adhesive and floor covering manufacturers also set their own moisture limits, so always check their requirements.
Other test methods
Handheld electrical moisture meters are quick and useful for comparing areas and finding the wettest spots, but their readings are only indicative and can be affected by the screed surface and its composition. The calcium carbide method, which measures moisture content by weight, is common in parts of continental Europe. For UK projects, the hygrometer method is the reference.
How can you speed up drying safely?
- Specify a rapid drying admixture from the outset, rather than trying to speed up a standard screed later. See choosing the right screed admixture.
- Control the mix water. The less surplus water in the mix, the less there is to dry out.
- Get the building weathertight so the screed is protected from rain and damp.
- Once curing is complete, ventilate and warm the space, or use dehumidifiers in a closed building to remove moisture from the air.
- Avoid forcing a young screed dry with direct heat or hot air blowers.
- Use underfloor heating only after curing, commissioning it gradually as described in our guide to laying semi-dry screed over underfloor heating.
Get advice on screed drying
If your programme depends on how quickly a screed will dry, the UKCP team can help you choose an admixture and plan for testing. Contact technical support, download the technical datasheets or request a sample.