Application Guide
Laying Semi-Dry Screed over Underfloor Heating: A Practical Guide
A practical, step by step guide to laying semi-dry sand and cement screed over wet underfloor heating, from preparing the base to commissioning the heating.
5 min read UKCP Technical Team
Laying semi-dry screed over underfloor heating follows the same basic process as any floating screed, with extra care at three stages: protecting the pipework, giving the screed room to move, and bringing the heating into use gradually once the screed has cured. Get those right and the screed will spread heat evenly and give a sound base for the floor finish.
Key takeaways
- Pressure test the pipework before screeding and follow the heating installer's guidance on keeping it pressurised while the screed is laid.
- Fit a perimeter edge strip so the heated screed can expand and contract.
- Keep the mix semi-dry and compact it fully around and over the pipes.
- Let the screed cure before commissioning the heating, then raise the temperature gradually.
- A suitable admixture such as LSA Max or PSA can improve strength and drying time.
Why does underfloor heating change how you screed?
In a wet underfloor heating system the screed does two jobs. It is the levelling layer that receives the floor finish, and it is the layer that spreads heat from the pipes across the floor. That means:
- the screed must be fully compacted around the pipes, because voids reduce heat transfer and weaken the screed
- the screed will expand and contract each time the heating cycles, so it needs room to move and good flexural strength
- the screed must not be heated before it has cured, or it can crack and curl
Before you start
Check the design
Confirm the screed thickness, pipe cover, insulation, bay sizes and movement joint positions with the floor designer or heating manufacturer. BS 8204-1 gives recommendations for sand and cement levelling screeds, including floating and heated screeds, and BS EN 1264-4 covers the installation of water based underfloor heating systems.
Choose your admixture
A good screed admixture improves strength, finishing and drying time. UKCP's screed admixtures suitable for underfloor heating include:
| Admixture | Form | Key points |
|---|---|---|
| LSA Max | Liquid | Very rapid drying, foot traffic after 24 hours, ideal for underfloor heating |
| PSA | Powder in water soluble sachets | Rapid drying, light traffic after 24 hours, suitable over underfloor heating |
For a fuller comparison, read choosing the right screed admixture.
Read the datasheet and safety data sheet
Before work starts, read the product datasheet and the safety data sheet (SDS). Wear waterproof gloves, eye protection, knee pads and suitable footwear, and use respiratory protection when handling cement, which is alkaline when wet and can irritate or burn skin and eyes.
Step by step: laying semi-dry screed over underfloor heating
1. Prepare the base and insulation
The structural base should be sound, clean and reasonably level, with a damp proof membrane where the design requires one. Lay the insulation boards tightly butted together with no gaps, as specified in the heating system design.
2. Fit the perimeter edge strip
Fix a compressible edge insulation strip around the whole perimeter of the room and around columns, door frames and other fixed elements. It separates the screed from the walls and allows movement as the floor heats and cools. Leave it standing proud of the finished screed level so it can be trimmed later.
3. Lay the membrane and pipework
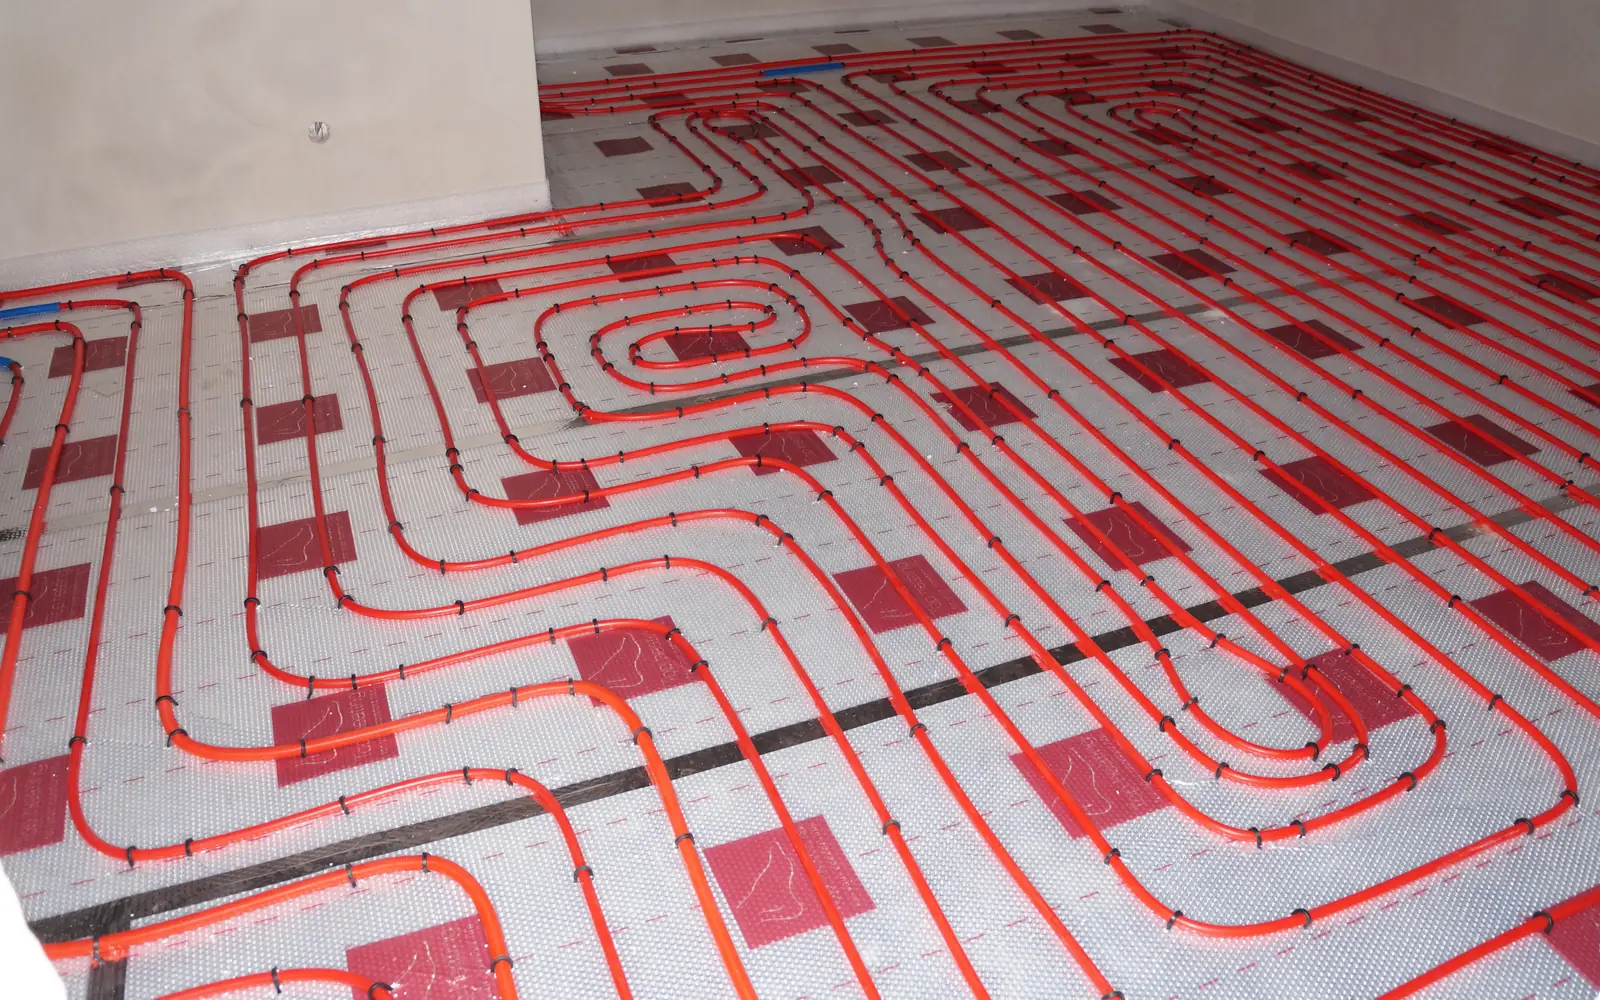
Where the system uses a membrane or film over the insulation, lap and tape the joints so screed cannot run into the insulation. Lay the pipework to the designer's layout and fix it securely so it cannot lift or move while the screed is placed.
4. Pressure test the pipework
The heating installer should pressure test the pipework before screeding. BS EN 1264-4 recommends keeping the pipes under pressure while the screed is laid, so any damage is spotted immediately rather than after the floor is finished.
5. Plan bays and movement joints
Mark out bays and movement joints as specified. Joints are commonly needed at doorways, between separately controlled heating zones and in large or irregular areas. Where pipes cross a movement joint, they should be sleeved to protect them.
6. Mix the screed
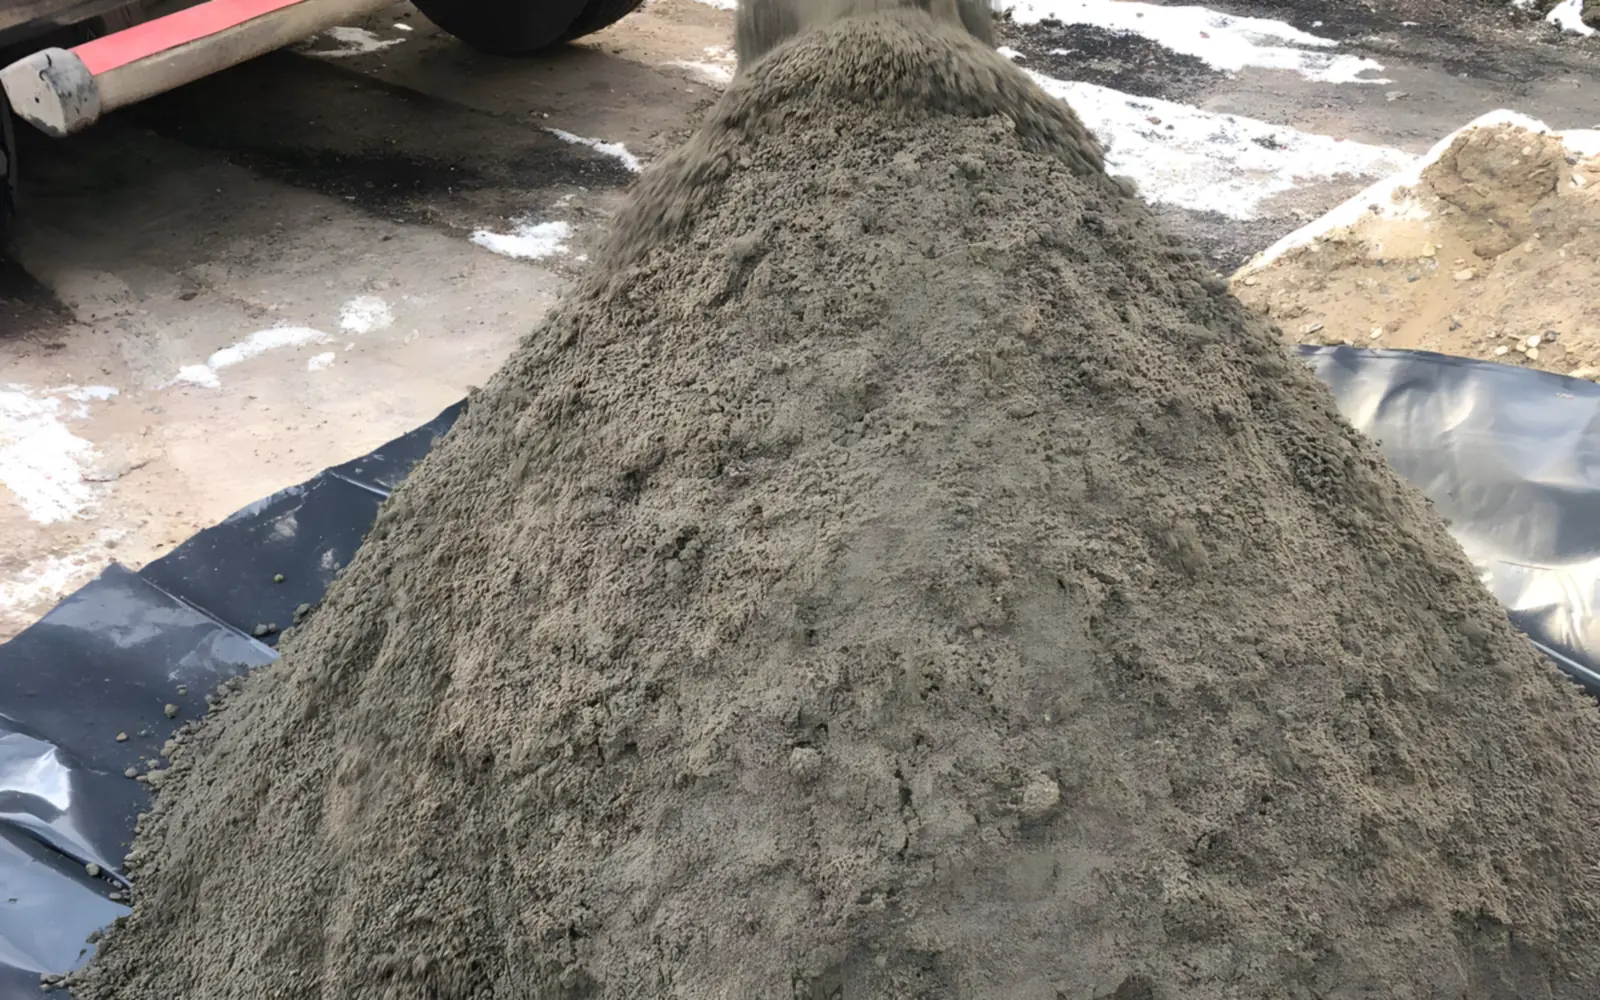
Use clean, well graded sand and cement in the specified ratio, with the admixture at the dosage recommended for your mix. Control the water carefully. The mix should form a firm ball when squeezed in the hand, with no water squeezed out. Sand is often delivered wet, so allow for its moisture content before adding water.
7. Place and compact around the pipes
Lay the screed in manageable areas, working it firmly around the pipes before building up to full thickness. Compact thoroughly with a tamper to remove voids, taking care not to displace or damage the pipework. Poor compaction around the pipes leaves voids that weaken the screed and reduce heat transfer.
8. Level and finish
Rule off to level with a straight edge between screed rails or levelling guides, then close the surface with a float to the finish required by the floor covering.
9. Protect and cure
Protect the fresh screed from premature drying caused by wind, strong sun and forced drying conditions, and keep traffic off until the product allows it. Ask our technical support team for curing guidance for your admixture.
10. Commission the heating gradually
Do not switch the heating on until the screed has cured. Ask our technical support team how long to allow for your admixture. When the heating is commissioned, follow the heating manufacturer's procedure: start at a low flow temperature and raise it in small steps until the design temperature is reached. BS EN 1264-4 also describes an initial heating procedure for heated screeds.
11. Test before laying floor coverings
Commissioning the heating is not the same as confirming the screed is dry. Before floor coverings go down, check the screed moisture in line with BS 8203 and the floor covering manufacturer's instructions. Many flooring manufacturers also set out how the heating should be run before, during and after installation, so follow their guidance. Our article on screed drying times explains how to test.
Common mistakes to avoid
- Switching on the heating to dry a screed that has not cured
- Adding water to make the mix easier to work around the pipes
- Missing or incomplete perimeter edge strips
- Voids around the pipes caused by poor compaction
- Leaving out movement joints at doorways and between heating zones
- Laying floor coverings without testing the screed moisture
Get technical support for your heated screed
Every heated floor is slightly different, so if you are unsure about thickness, admixture choice or commissioning, speak to our technical support team. You can also download the technical datasheets or request a sample of LSA Max or PSA for your next project.